iOS AnyConnect Installation
GhostArc uses AnyConnect to provide easy to use VPN services that are supported in iOS and can be automatically updated via the App Store. To start the process, click the manage credentials button in the dashboard and then follow the steps below.
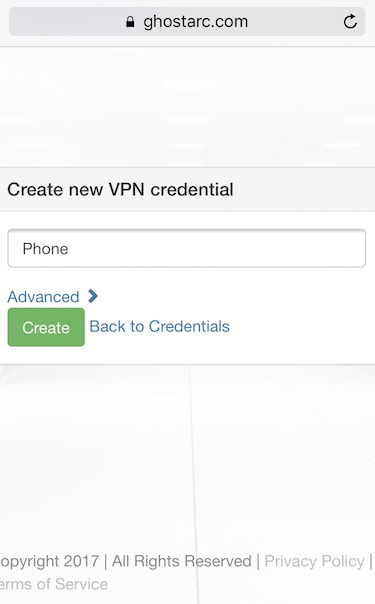
From the Manage Credentials section of the dashboard, click the "New Credential" button to get to the screen below. Give the credential a name and then click create. This will generate the private key and certificate that your iPhone or iPad will use to log in to our service.
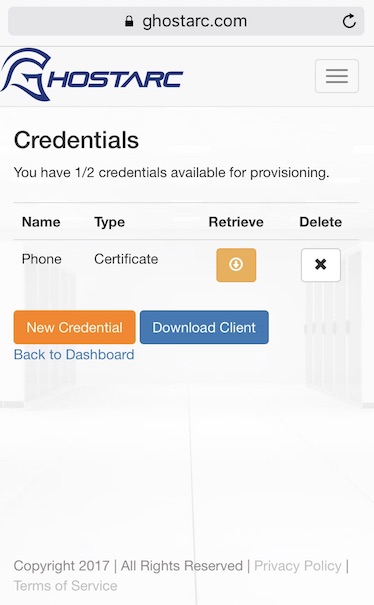
Next, click the orange button in the retrieve column as shown below. This will download a mobileconfig file that is automatically recognized by iOS, and contains the private key, certificate, and the VPN server address.
You will automatically be prompted to install the configuration profile by iOS. Proceed by clicking install in the upper right.
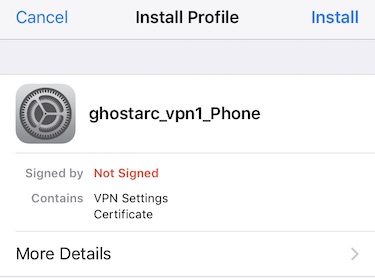
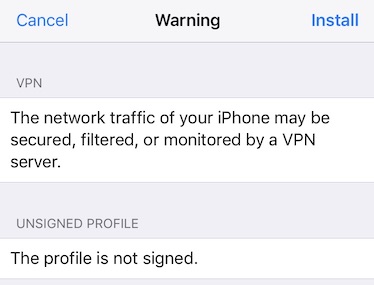
Next you will be presented with a warning screen that your internet traffic will be routed through a VPN server. Click Install in the upper right to proceed, and then you will be prompted to enter your PIN for your iPhone or iPad to authorize installation.
The next step is to download and install the AnyConnect client on iOS, click the Download Client button from the dashboard to be taken directly to the app in the App Store. If you are running iOS 10 or later you will be directed to Cisco AnyConnect. If you are running iOS 9 or earlier you will be directed to Cisco Legacy AnyConnect. You can also follow the directions below to find and install the app yourself
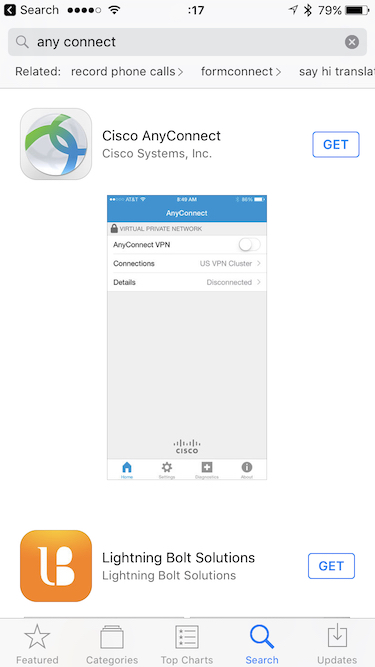
First, open the App Store on your iPhone or iPad and search for "any connect" as shown below. Choose Cisco AnyConnect if your device is running iOS 10 or newer, and Legacy AnyConnect if it is running iOS 9 or older, then tap "Get".
Tap the "Get" button to download and install AnyConnect for iOS

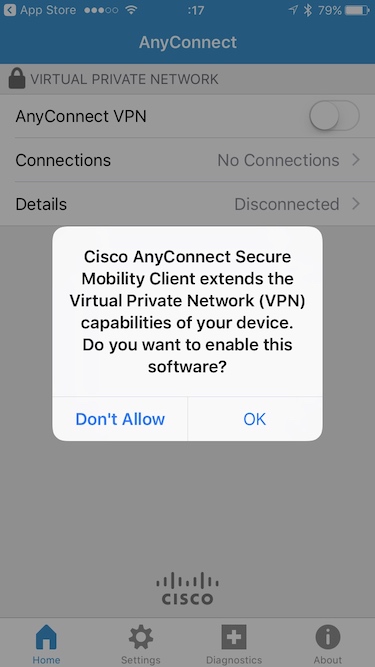
If your device is still running iOS 9 or older and you are using the Legacy AnyConnect client, the first time you run AnyConnect on your iOS device, AnyConnect will ask for permission to install a software shim that allows your VPN connection to be controlled using the built-in VPN preferences in iOS. Click OK when prompted as shown below:
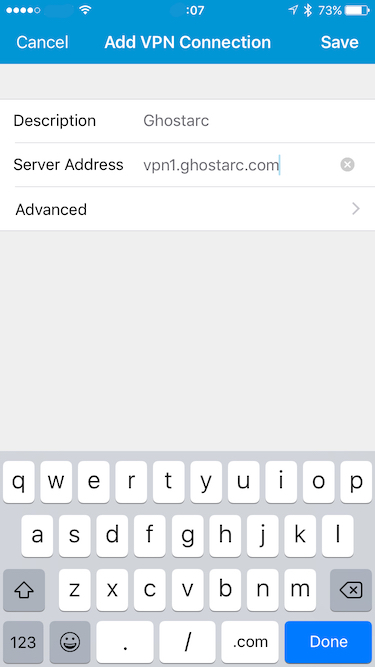
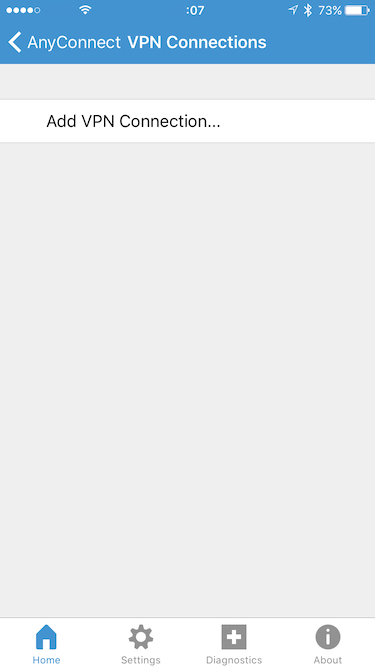
If you installed the mobileconfig file that you retrieved earlier, the VPN server address will be filled in automatically and you can just tap the switch to the right of "AnyConnect VPN" to connect. You can also manually add a VPN connection to AnyConnect by tapping "Add VPN Connection…," as shown below.
You can put any name you want into the description field, and then enter the vpn server address in the server address field. The example shown below will work!