macOS AnyConnect Installation
GhostArc uses AnyConnect to provide easy to use VPN services that are supported in macOS and can be automatically updated each time you connect your Mac to any of our VPN appliances. To download and install the AnyConnect client on your Mac, click the download client button when logged into your account dashboard, and then follow these instructions:
While logged into the dashboard on the website, create a new credential by clicking the manage credentials button. If you are using a browser on macOS, you will automatically receive a file with a .mobileconfig extension. This file contains your encryption certificate for authenticating to our service. Double click on the .mobileconfig file and allow the profile to be installed.
If you want to verify that the certificate and private key were installed correctly, open the KeyChain Access utility in your /Applications/Utilities folder, then choose "Login" in the upper left and "My Certificates" in the lower left of the Keychain Access program. You should see a certificate like the one below (the username on yours will be random for your privacy).
.
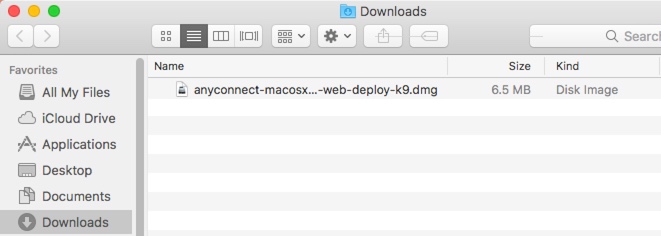
Next go to your downloads folder and double click the AnyConnect installer DMG, which will have a name similar to that shown below.
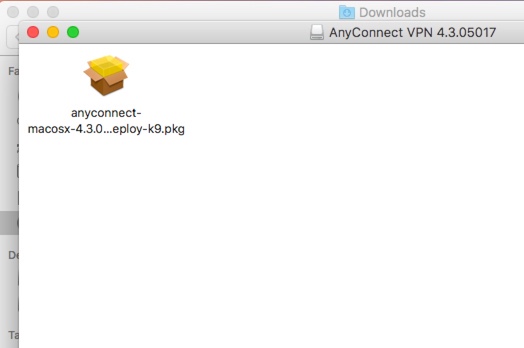
A new window will open showing an installation package as seen below. Double click on it to proceed.
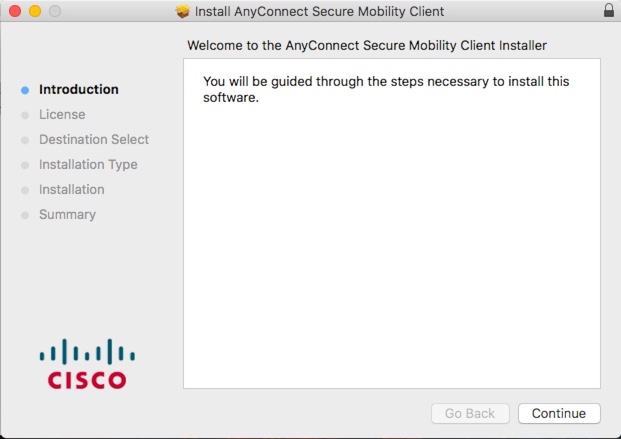
When the installer window appears as shown below, click the "Continue" button.
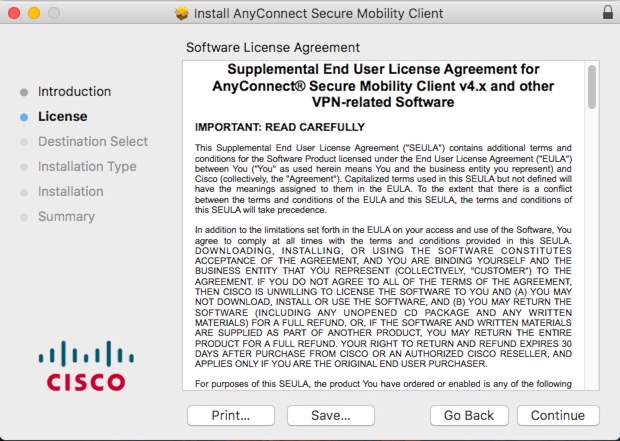
Click "Continue" again as shown below to accept Cisco’s license agreement for the AnyConnect client software.
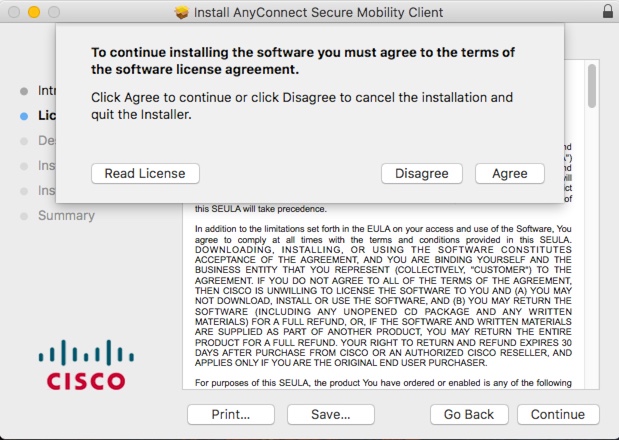
Click "Agree" as shown below to accept Cisco’s license agreement for the AnyConnect client software.
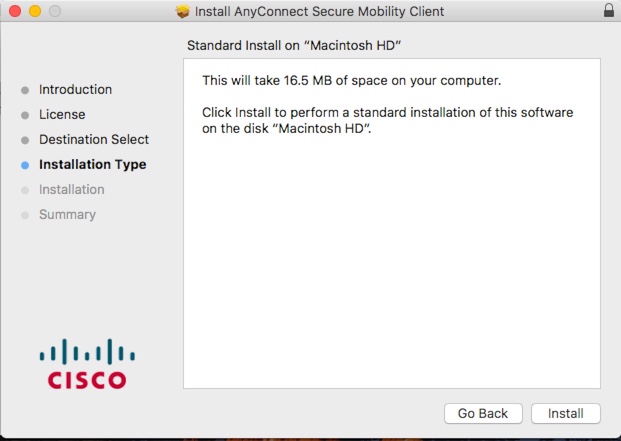
Click "Install" as shown below to install the AnyConnect client software.
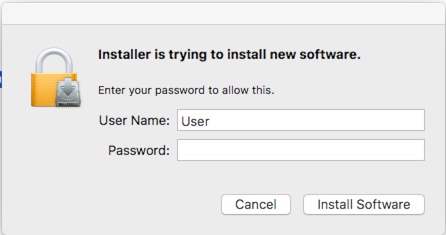
You will be prompted for your username and password for your Mac to install the client software, as shown below.
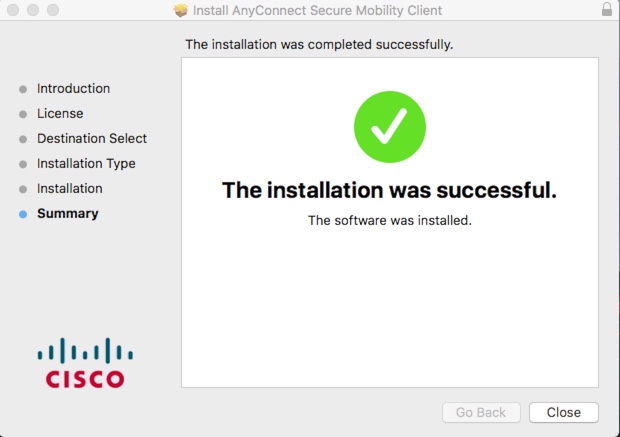
When the installation is complete, you will see the window below. Click "Close".
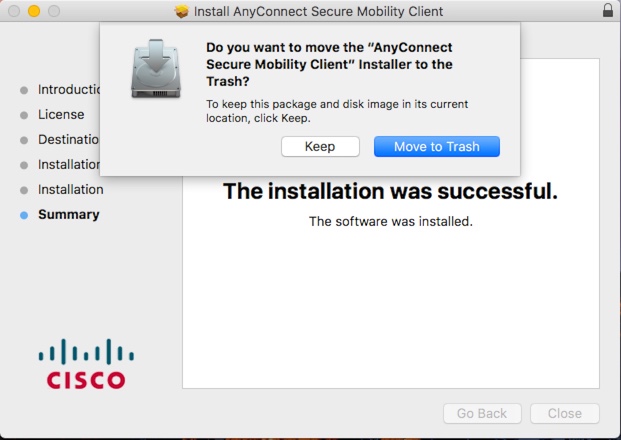
On macOS Sierra or newer, you’ll be prompted to move the installer to the trash. Click "Move to Trash", as the installer is no longer needed.
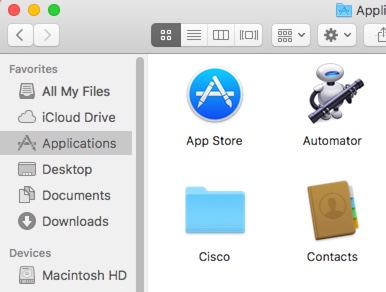
To run the AnyConnect VPN client, open the Finder and choose your Applications folder as shown below. Double-click the "Cisco" folder.
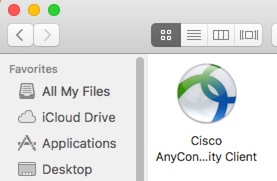
You should then see the Cisco AnyConnect Client icon as shown below, double click it to proceed.
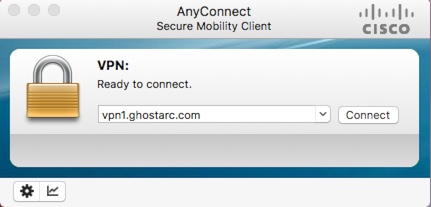
You should then see the Cisco AnyConnect Client window appear as shown below. Enter the vpn server address you want to use, and click "Connect" to proceed. The example shown below will work!